How To Make California Moscato using a Wine Kit
Posted by Courtney Schatz on Apr 30th 2020
As a person who never knew anything about home brewing, let alone actually doing it themselves, I have to say that I am impressed at how simple making your own wine from a kit seems to be. Or maybe I just got lucky. Either way, this blog post will go through the steps that I took as a first time wine maker to make a California Moscato.
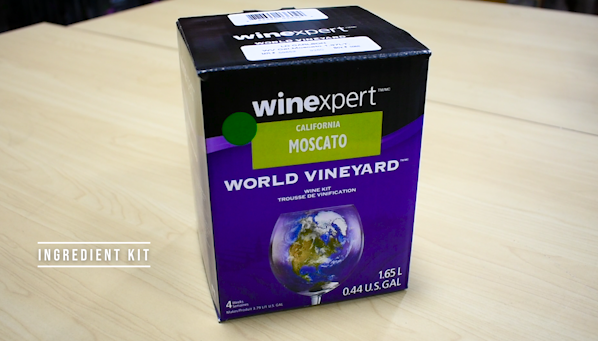
I used the WineExpert California Moscato World Vineyard Ingredient Kit and the Vinter’s Best One Gallon Wine Making Equipment Kit.

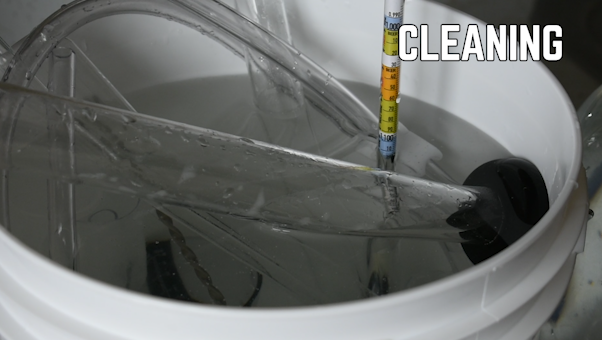
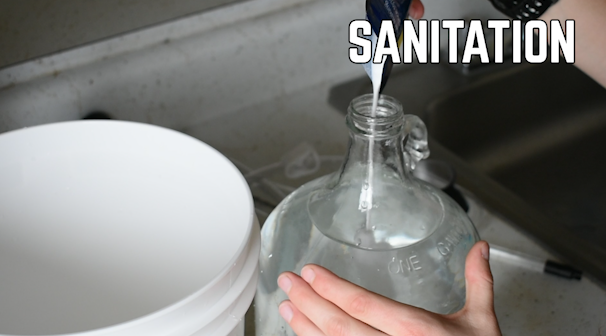
Fill the glass jug with one gallon of warm water and add one tsbp of Easy Clean. Pour the cleaning solution into your fermenter. Gently clean all of the equipment that will come into contact with your wine. Dump out the cleaning solution and fill the glass carboy again. Add 2 oz. of potassium metabisulphite. Put the stopper in the top and shake so that sanitizing solution reaches all areas of the inside of the carboy. Take the stopper out and pour sanitizing solution into your fermenter. Sanitize all equipment that will come into contact with your wine.
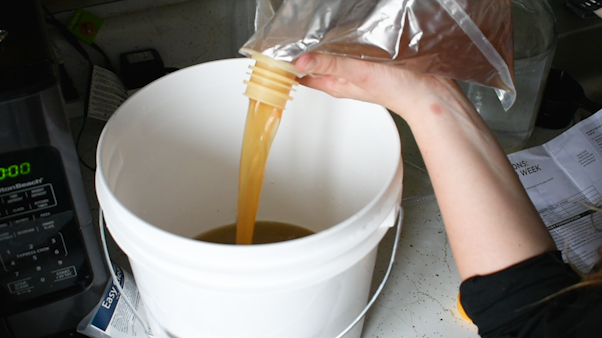
When all equipment is sanitized, it’s time to make your juice base. Mix the bentonite with warm water and add the reserve juice bag.Stir well.
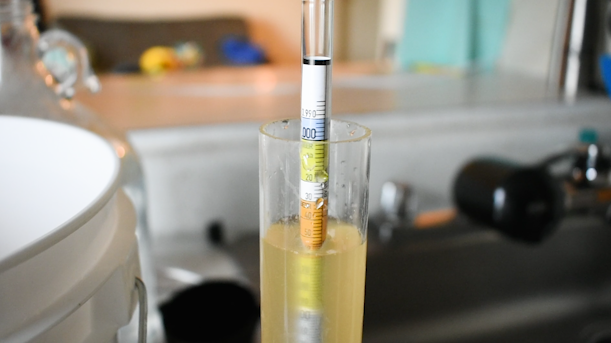
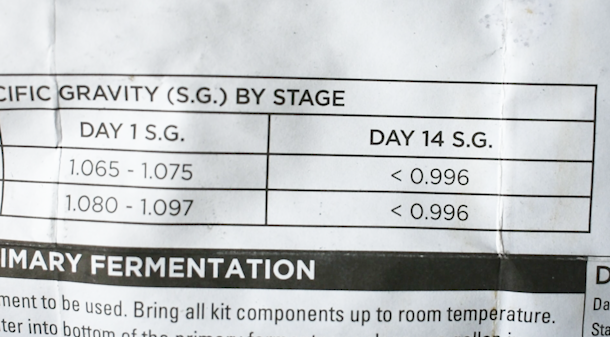
Now it’s time to take a sample. Use the wine thief to put wine into the test jar.There are instructions that come with your hydrometer that will show you how to use it. Most hydrometers have a specific temperature, usually around 60 degrees, that they are calibrated to, so use your thermometer on the side of the fermenter to take the temperature of your wine, then use the temperature conversion chart included with your hydrometer to adjust for your specific temperature. Your instructions will show what the day one specific gravity should be close to. Record the day one specific gravity in the proper spot on the instructions.
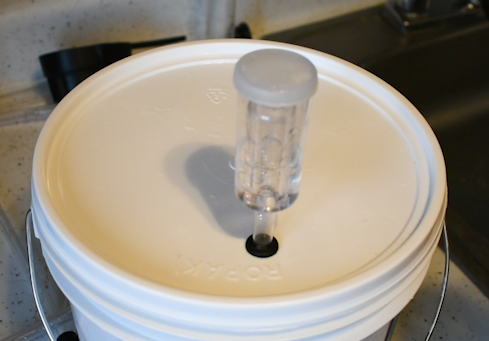
Sprinkle yeast on top. Then cover your fermenter with the lid. Fill your airlock halfway full with sanitizing solution and place in the hole on top of your fermenter. Leave in a warm, safe spot for 14 days.
DAY 14
On Day 14, re-sanitize all equipment that will come into contact with the wine. Carefully open your fermenter.
Take a Specific Gravity reading and make sure it is within range of the instructions’ specific gravity reading. For Moscato, what we are shooting for is less than .996. This is showing .994. Write down the reading in the proper spot on the instructions. If your Specific Gravity isn’t in range, wait another 48 hours and repeat the process.
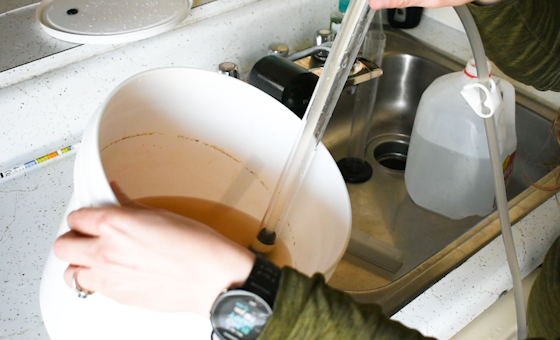
Siphon from the fermenter into your 1 gallon jug. Keep the bottom of the auto siphon above the sediment in the bottom of the bucket, but submerged enough to run continuously to fill jug.
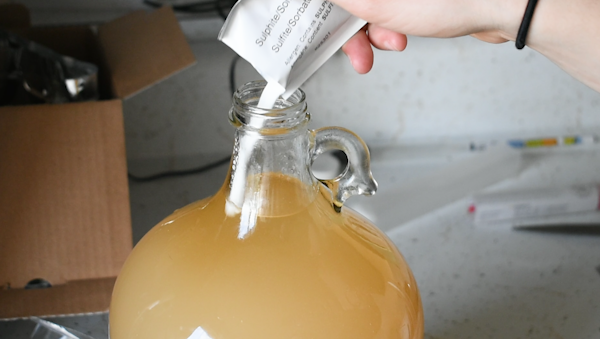
Add the sulphite/sorbate packet to the jug and stir.
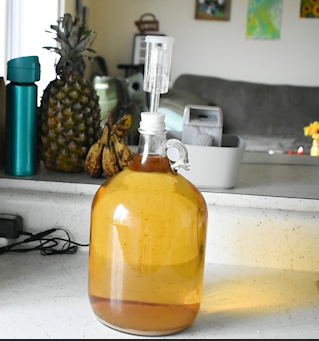
You will now degass the wine. Do this by putting a solid stopper in the top. With your thumb on top of the stopper, shake to build pressure, then release pressure. This part can take awhile, so keep repeating until pressure decreases. When pressure is gone, add the kiesesol. Top your jug with drilled stopper and insert airlock filled halfway with sanitizing solution. Leave in a safe, dry space for 24 hours.
Day 15
After 24 hours, add the reserve juice bag. You'll also add the Chitosan. This is the part of the process known as Clearing. Leave the wine in a warm, safe spot according to the clearing chart provided in the instructions. For Moscato, it is 12 days of clearing. On the 5th day of clearing, give the jug a twist to let sediment on the sides fall to the bottom.

When your clearing time is up, siphon the wine into your clean, sanitized fermenter. You can choose to bottle your wine, or re-siphon into your clean, sanitized one-gallon jug.

And with that, the Moscato is finished! Time to pour yourself a glass, and enjoy!
Watch the How-To video HERE!
Have questions? Leave them in the comments, or shoot us an email at courtney@homebrewohio.com